This step is necessary only if you only added a new menu. If you added menu items to an existing menu you may skip this step.
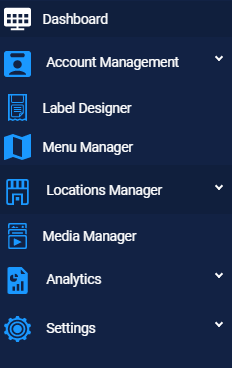
- Navigate to the Locations Manager by clicking the icon or using the navigation panel on the left-hand side of the portal.
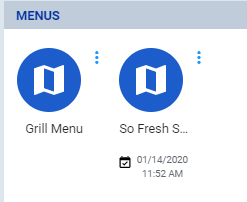
- Here you can see the existing menu(s) that are already assigned in the existing hierarchy and the last time they were published
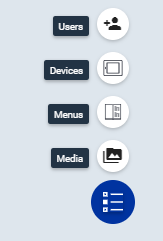
- To assign your new menu, navigate to the specific location or grouping of stores that will need this menu, click the blue circle in the bottom right hand corner, then select “Menus”
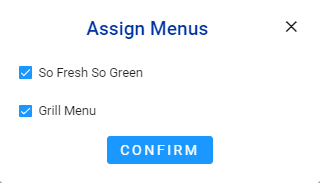
- Enable your new menu by checking the box next to the menu name and clicking “Confirm”
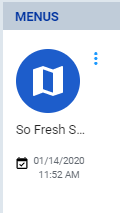
- Your new menu will now appear in the Locations Manager. This menu will not be available on the terminal(s) until it has been published