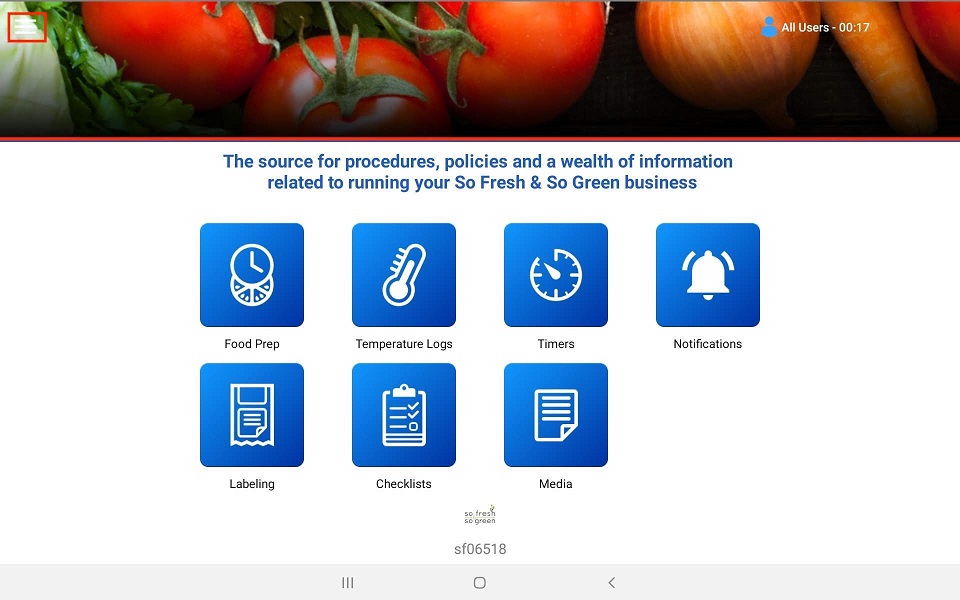
1. Select Menu.
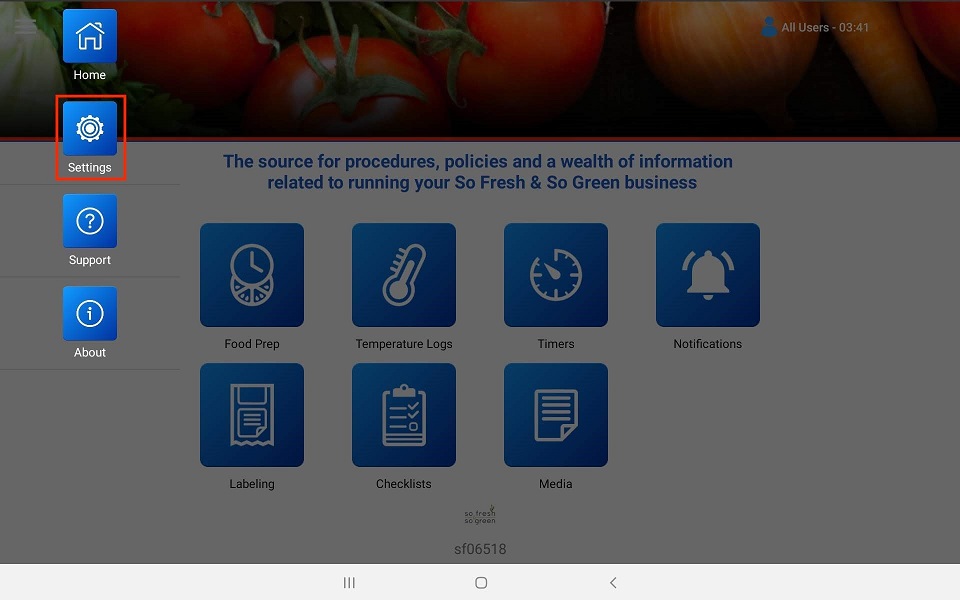
2. Select Settings.
3. Select Food Prep.

4. Make sure “Ask employees to count before a prepping session” is turned on.This means performing an on-hand count of what is already prepped to adjust the prep levels set in your system.

5. To create a new prep schedule or adjust a current one, select “Adjust prepping schedule”.

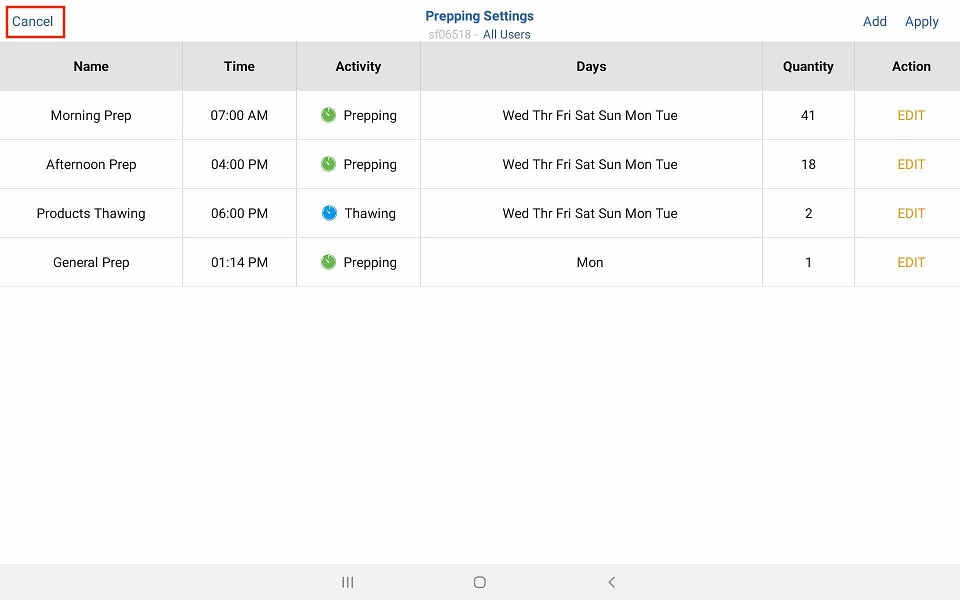
6. At the top right of the screen you will see “Add” and “Apply”. Whenever you create a new or adjust a prep session you will need to select “Apply” for those changes to take effect and synchronize across all devices.
7. Select “Add” to create a new Prep Session this will bring up the prep template.

8. Label: Make sure to name what this prep session Is for, example “General Prep”.
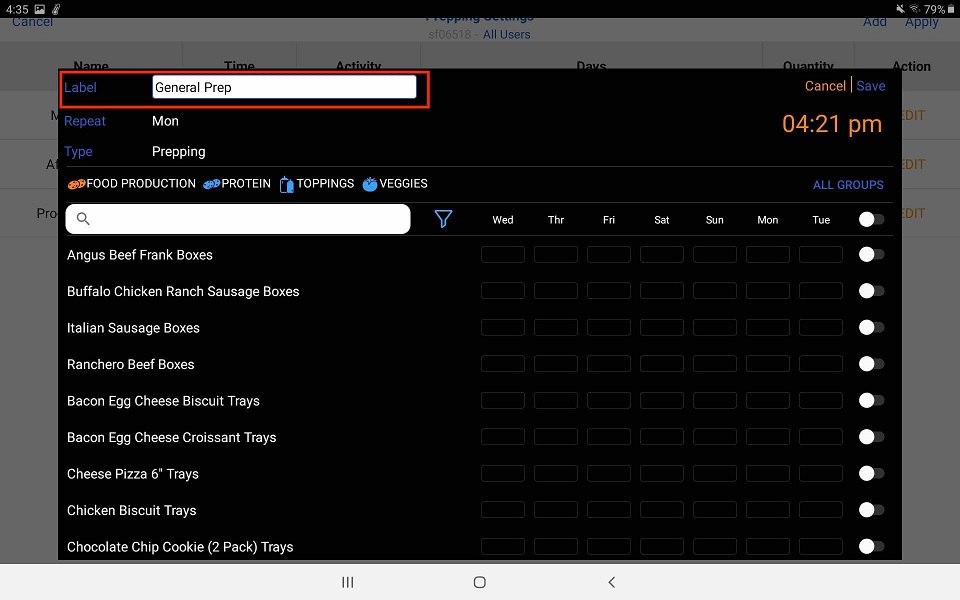
9. Repeat: Select the days this session is to be active.
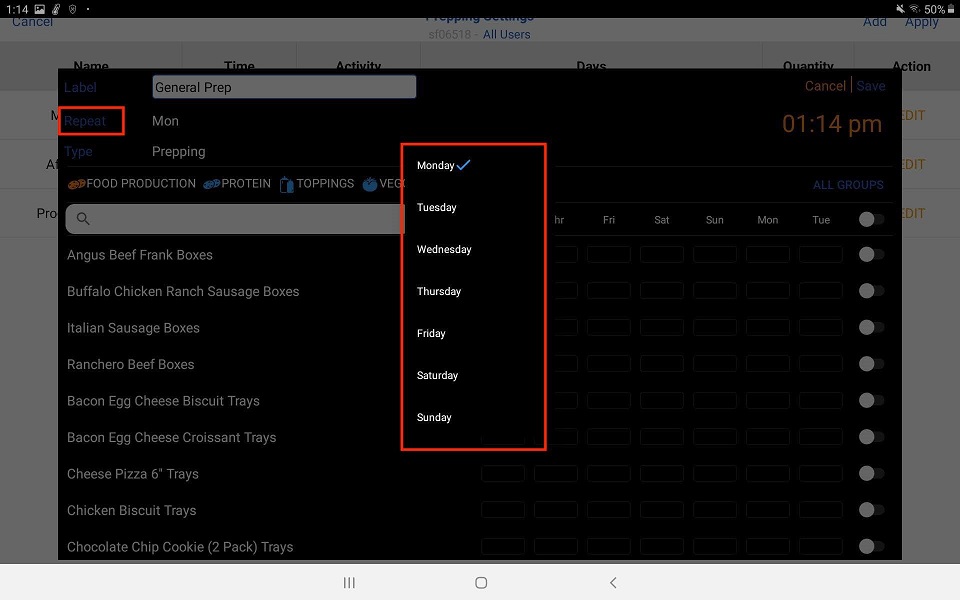
10. Type: what kind of session Is this Prep List, Thawing List. This will change the categories and Items underneath.

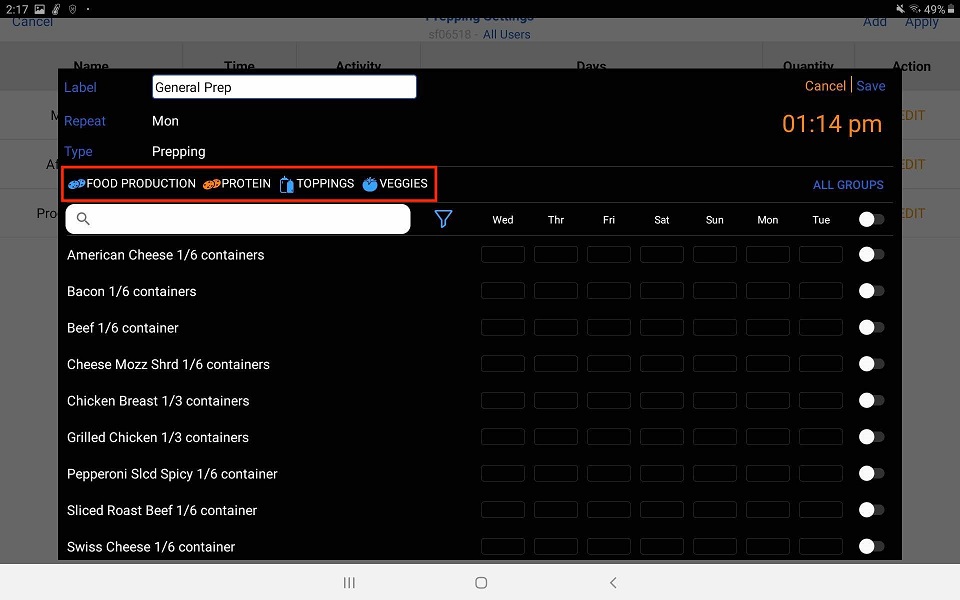
11. Under Type you will see all the categories listed out. To activate an Item In this session,select the Category.
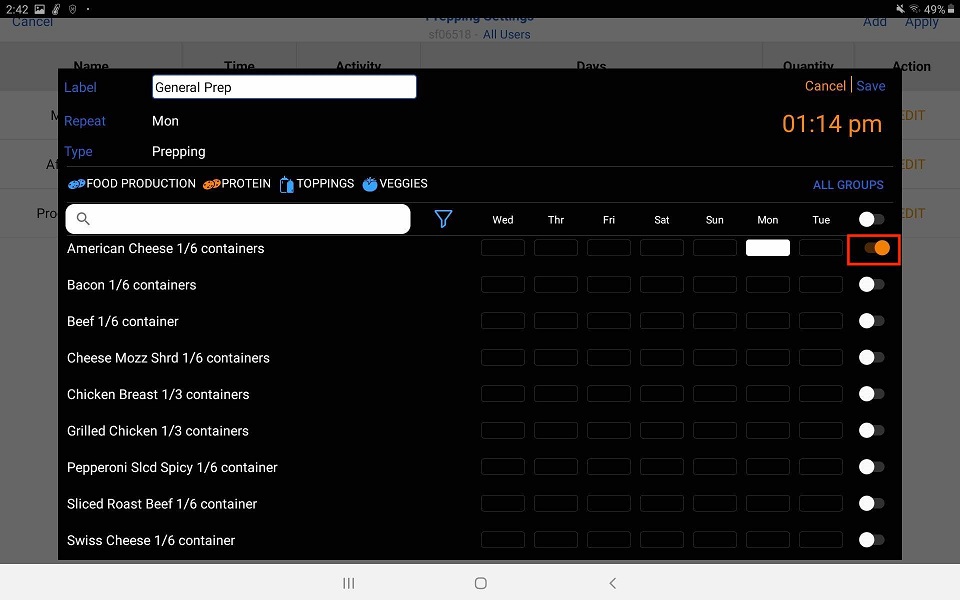
12. Select the Item. All the way to the right, touch the white button. It will turn orange and white entry boxes will appear with the days associated with this session as defined under “Repeat”.
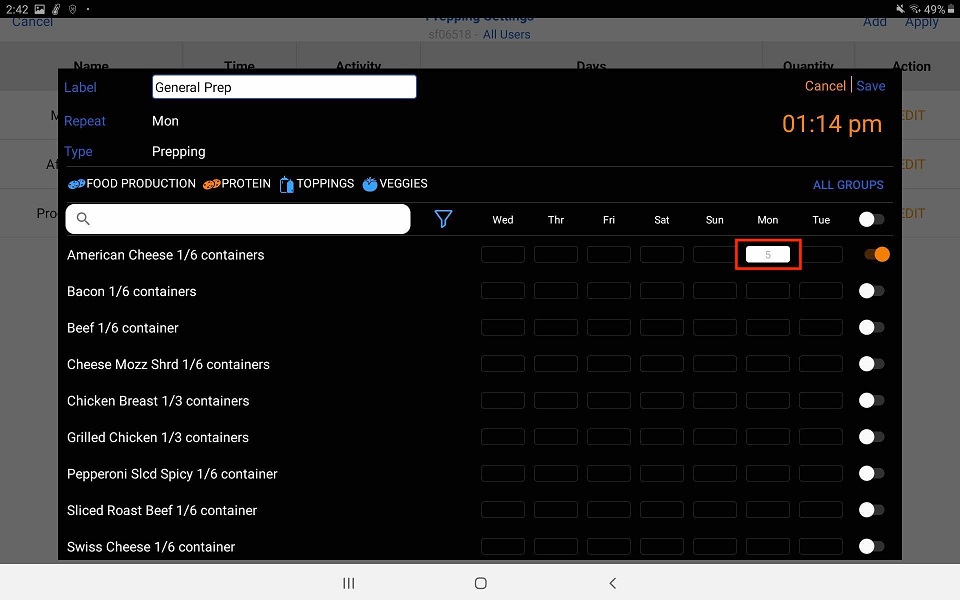
13. To add how many Units you will be prepping, select the White Entry box.Add how many units you wish to prep on that day, then move to the next box.
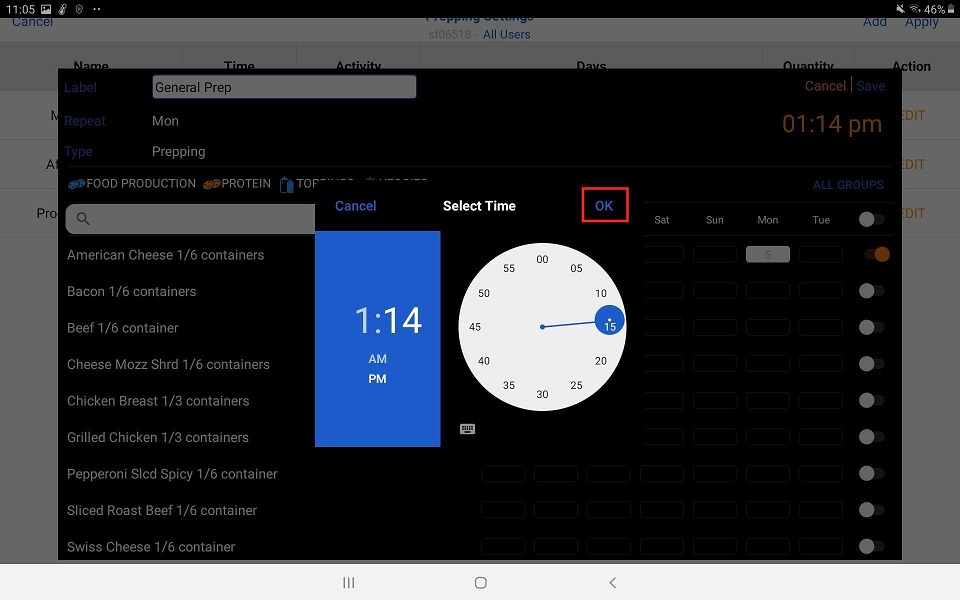
14. Assign the time this session Is active. Select the time in the upper right corner.

15. Using the pop-up window change the rime to the hour and minute the session will be scheduled to start. Don’t forget to choose AM or PM. Select OK when done.
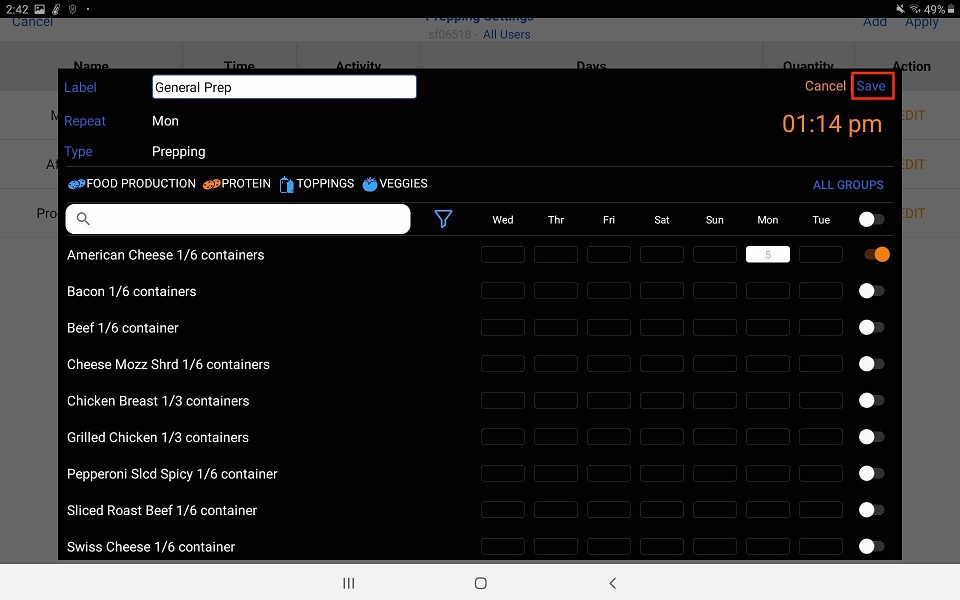
16. Once you have all the Items selected with a quantity in the fields select Save In the upper right corner.
17. You will see the new active session In the List. Don’t forget to hit Apply to make sure this Is synchronized to all devices!
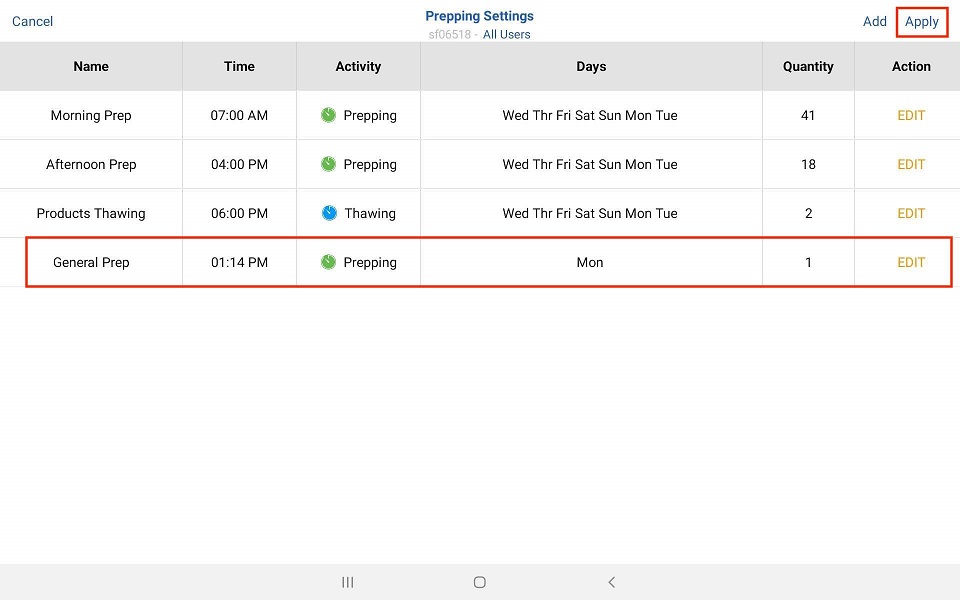
18. To return to the main menu select Cancel In the upper left corner.